

What tools do I need to install a wall clock?
Installing a wall clock might seem like a straightforward task, but having the right tools is crucial to ensure a secure and aesthetically pleasing installation. As a wall clock supplier, I've seen firsthand the importance of proper installation, and I'm here to guide you through the essential tools you'll need for the job.

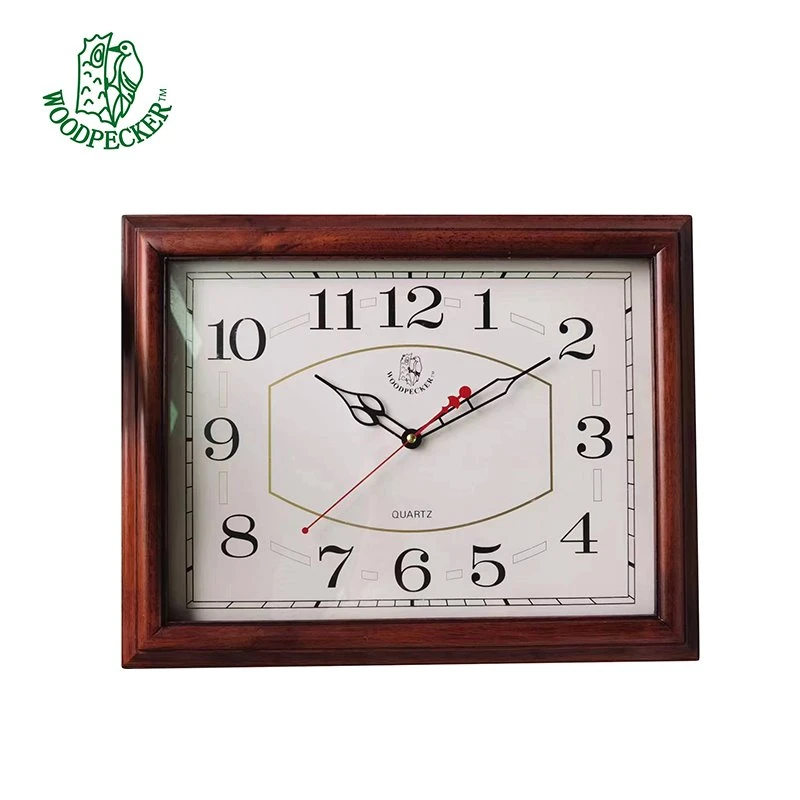
Measuring Tape
A measuring tape is the first tool on our list. Before you even think about hanging the clock, you need to determine the perfect spot on the wall. Using a measuring tape, you can measure the height and width of the area where you want to install the clock. This helps you ensure that the clock is centered and at the right height for optimal viewing. For example, if you're installing a large Square Wall Clock, you'll want to make sure it's placed at eye level and centered on the wall. Measuring accurately also prevents the clock from looking off - balance or too high/low.
Pencil
A simple pencil is an indispensable tool. Once you've measured the ideal location for your wall clock, use the pencil to mark the spots where you'll be making holes or attaching the clock. This provides a clear guide for the next steps. Whether you're installing a small decorative clock or a large Oak Solid Wooden Wall Clock, the pencil marks will help you stay on track.
Screwdriver
Depending on the type of wall clock you have, a screwdriver will likely be needed. Most wall clocks come with mounting hardware that requires screws to attach the clock to the wall. If your clock has a metal or plastic backplate that needs to be secured to the wall, a screwdriver is essential. There are different types of screwdrivers, such as flat - head and Phillips - head. Make sure you know which type is required for your clock's mounting hardware. If you're unsure, check the clock's instruction manual.
Drill
For some wall materials, a drill is necessary. If you're hanging a heavy clock on a wall made of concrete, brick, or solid wood, you'll need to drill holes to insert wall anchors. Wall anchors provide extra support and ensure that the clock stays securely on the wall. When using a drill, it's important to choose the right drill bit for the wall material. For example, a masonry bit is needed for concrete and brick, while a wood bit is suitable for wooden walls.
Wall Anchors
Wall anchors are small devices that are inserted into the wall to provide a secure base for screws. They are especially important when hanging heavy clocks or when the wall material is not strong enough to hold the screws on its own. There are different types of wall anchors, such as plastic expansion anchors and toggle bolts. Plastic expansion anchors are suitable for light - to medium - weight clocks, while toggle bolts are better for heavier items. If you're installing a large Calendar Wall Clock, which may be relatively heavy, toggle bolts might be the best choice.
Level
A level is a tool that helps you ensure that your wall clock is hanging straight. No one wants a crooked clock on their wall. By using a level, you can make sure that the clock is perfectly horizontal or vertical, depending on your preference. Place the level on top of the clock or against the side while you're mounting it. Adjust the position of the clock until the bubble in the level is centered. This simple step can make a big difference in the overall appearance of the clock.
Stud Finder
If you're hanging a very heavy wall clock, it's a good idea to use a stud finder. Wall studs are the vertical wooden beams inside the wall that provide structural support. Mounting your clock on a stud ensures a much more secure installation. A stud finder can detect the location of these studs behind the wall. Once you've found a stud, you can drill directly into it without the need for wall anchors in most cases.
Safety Glasses and Gloves
Safety should always be a priority when working with tools. When using a drill, there's a risk of debris flying into your eyes. Wearing safety glasses protects your eyes from any potential harm. Gloves, on the other hand, provide a better grip on tools and protect your hands from sharp edges or rough surfaces.
Step Ladder
For installing clocks on high walls, a step ladder is essential. Make sure the ladder is stable and placed on a flat surface before climbing up. Always follow the safety instructions when using a ladder. This will allow you to reach the desired installation height safely and comfortably.
Conclusion
Installing a wall clock is a relatively simple task when you have the right tools. As a wall clock supplier, I encourage you to invest in these essential tools to ensure a successful installation. Whether you're a DIY enthusiast or just looking to add a beautiful timepiece to your home or office, having the proper tools will make the process much easier and more enjoyable.
If you're interested in purchasing high - quality wall clocks for your space, we have a wide range of options available. Our clocks are made with the finest materials and designed to meet your style and functionality needs. We're more than happy to assist you with any questions you may have about our products or the installation process. Don't hesitate to reach out to us for a purchase consultation.
References
- Home Improvement Handbook: A Guide to DIY Projects
- Wall Clock Installation Manuals from Various Manufacturers